
Log in to your advertiser dashboard, and under ‘Features’; click ‘Mobile Web Pages’
Here, you can view mobile web pages you have created. You can see the pages’ title name, keyword, date it was created, the start and end dates, the URL of the page, and can also delete, copy, and edit these pages.

To create a mobile web page, click the button ‘Create New’ above the table. You will be taken to the mobile web page wizard, which looks like this at the top:
Below are your widgets, basically the tools to set up your Landing Page

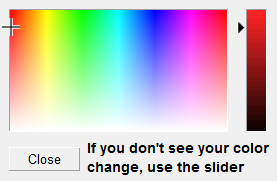
-You can start off by selecting a color that will appear as the background on your page
- Note- Whenever you change a color, if you notice that your color isn't appearing (only appearing as black) then move the slider on the right hand slide up (away from the black on the bottom) to have your chosen color appear. The slider is great to control if you want your color to be on the lighter side or the darker side.
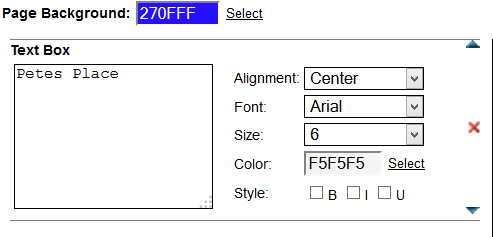
-When you insert a Text Box, this is how text gets onto your page. Choose alignment, font, size, color, and style (B for Bold, Ifor Italic, and U for Underline). Enter your text with the spacing you want and all formatting will be applied to this particular text box. You may paste html in this.
So for examply, if you select "Text Box" as your first widget, anything that you type will appear on the top of the page (great for putting a title at the top of your page. Keep in mind you can insert text boxes anywhere. When you click on a widget, think of everything you add as stacking on top of each other. So if you first click text box, the box will appear. Then if you click "email" widget, that will appear right under the text box...stacking!)
To the right of the page wizard will be a preview of your page. Keep in mind, the changes you make to the page will not be automatically updated in the preview,.so to see what changes you have already made in the preview section to the right of the wizard, click "Page Preview". Do this after everything you add to see it appear on the page to the right.

To the right of each design component, you will notice an up and down scroll tab with an X in between.
The scroll tabs allow you to move each component to the web page up or down depending on where you want to place it, and the X button is to delete the component entirely. The page will refresh with each click to show that the component has moved or has been deleted.

Above is an example of an image box. You can upload pictures with a maximum size of 220 pixels horizontally and 500 pixels vertically. These pictures are never automatically resized or skewed. If you have a picture that is, say, 400x600 pixels, it is imperative that you either crop the picture to fit within the size requirements or resize it.
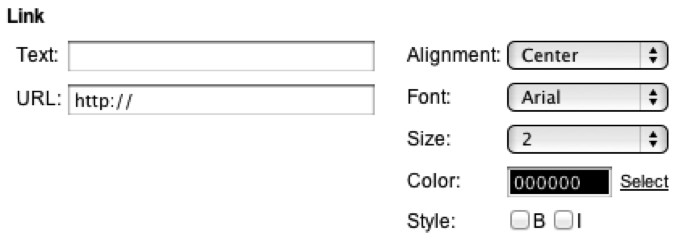
This is an example of the link box. Enter in the text mobile users will click on the page, enter the webpage they will be directed to in the URL field when clicking the text. All formatting is the same, except the link will be underlined to matter what, so as to indicate that the text is in fact a hyperlink.
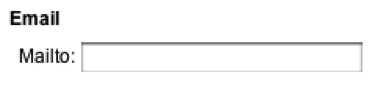
The e-mail component format is the same as the link component, except the full e-mail address will show up no matter what, whereas the link you can put text in place of the link itself.
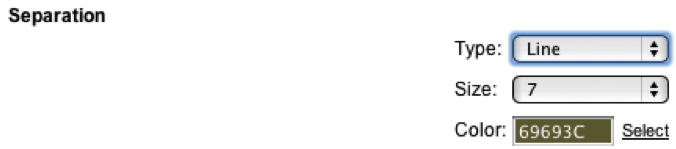
The separation component will add either a line or a blank space for separation. You have 7 sizes for either, and you can also select the color of the line.
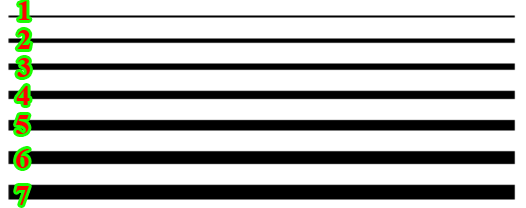
Here is a chart of the line sizes.
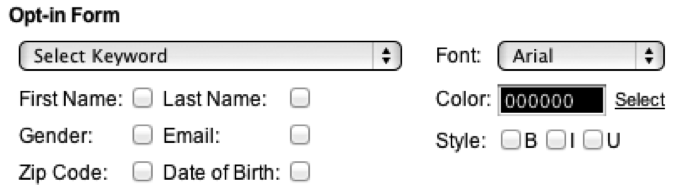
Lastly, you can create an opt-in form to be placed on the mobile web pages. You have the option to ask for the user’s first name, last name, gender, e-mail, zip code, and date of birth. Only the user’s mobile number will be a required entry in order for them to be opted in. Choose the keyword associated with the opt-in list you want and format the color, font, and style of the text.
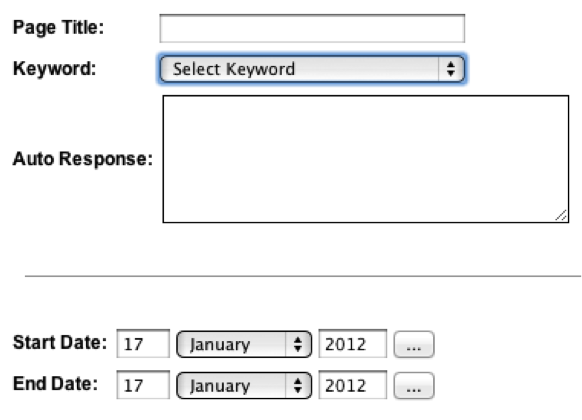
Click, ‘Next’ at the bottom of the page to add the finishing touches: create a page title for your records, select a keyword that the user texts to be directed to the mobile webpage (not required), and write an auto response, which is the message that the user will receive along with the standard message that says ‘To view the page click here: http://example.com’ (the link is an example. The URLs will always begin with “http://mcpn.us/p?c=” . Indicate your start and end date for the mobile website. The link will not work for the mobile device user if the dates have already passed or have yet to occur. Click ‘Previous’ to go back to editing the mobile page, or ‘Finish’ if you are done. You can always go back and edit if necessary.
0 Comments