
Confirming appointments has never been easier! Click create new on the dashboard to get started.
-Start off by selecting the appointment date and time. You can select the hour, minute and either AM or PM

Next you can choose when to send the notification and confirmation. You can set it so that your customer receives the message a half hour, an hour or even 2 days before their scheduled appointment.
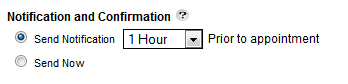
If you want to send the reminder right away, click “Send Now”
Under “Client’s info”, input your client’s phone number. You have the option of inputting the first and last name as well.

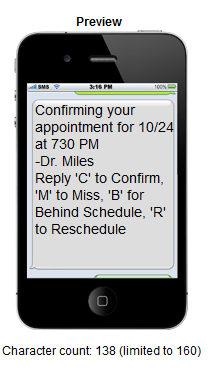
You can then select if you want to just send a reminder, send a confirmation message where your client can reply back to confirm. (A short confirmation is the same thing, just less text appears)
If you already have a message saved, you can select it where it says Template. You can update the message or delete it
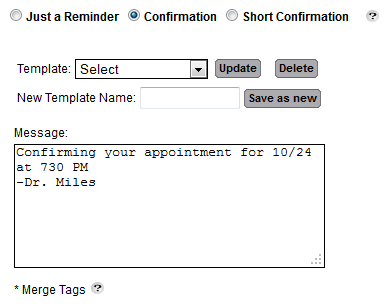
You can select merge tags to quickly add a person’s name or the time of the appointment
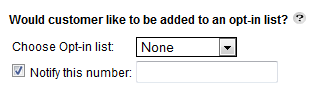
You can add your client to an opt-in list if you choose
Finally, you can select notify this number to get a notification when your client receives his or her message.
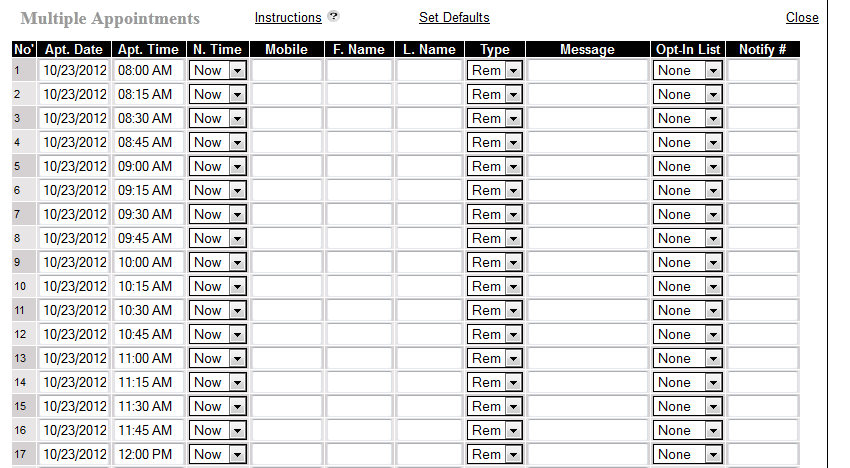
You can send out multiple reminders at once, with up to 48 at a time! You can edit the appointment date and time, when to send the message, the mobile number, optional name and last name.
You then select what type of message (confirmation, just a reminder), the message, opt-in list and notification you receive. It is basically all the features shown before put together all in one place!
This is a great way to save time!
0 Comments